유용한 코드
[JavaScript]input file 버튼을 눌러 엘리먼트 추가하기
황계순
2023. 1. 31. 03:16
안녕하세요 자바스크립트를 통해 input 태그 엘리먼트를 추가해보겠습니다.
일단 HTML 코드부터 보여드리겠습니다.
<head>
<script src="https://ajax.googleapis.com/ajax/libs/jquery/3.5.1/jquery.min.js"></script>
</head>
<style>
.imgNoneBox{
border: solid 1px #ddd;
width: 500px;
height: 300px;
text-align: center;
}
#inputPlusId{
width: 500px;
text-align: center;
}
.imgFileContainer{
width: 500px;
text-align: center;
}
</style>
<div class="writeForm">
<table>
<colgroup>
<col class="writeForm_col01_1" />
<col width="*" />
</colgroup>
<?php
$i = 0;
?>
<tr>
<th>사진 </th>
<td>
<div id="fivePlus">
<div id="profileContent<?=$i?>" style="margin-top:10px;">
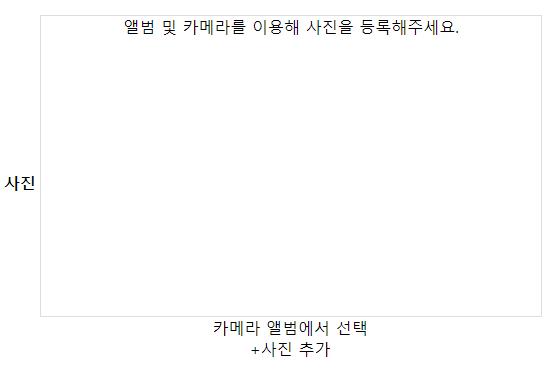
<div id="disNone_<?=$i?>" class="imgNoneBox">
앨범 및 카메라를 이용해 사진을 등록해주세요.
</div>
<img id="imgBox_<?=$i?>" src="#" onerror="this.style.display='none'" width="100%"/>
<input type="file" class="imgFile" onchange="readURL(this, this.id, '<?=$i?>', 'capture');" name="capture<?=$i?>" id="imgUpload_<?=$i?>" class="img" accept="image/*" capture="camera" style="display:none;">
<input type="file" class="imgFile" onchange="readURL(this, this.id, '<?=$i?>', 'profile');" name="profile<?=$i?>" id="imgCamera_<?=$i?>" class="img" accept="image/*" style="display:none;">
<div class="imgFileContainer">
<label class="imgAlbum" for="imgUpload_<?=$i?>">카메라</label>
<label class="imgAlbum" for="imgCamera_<?=$i?>">앨범에서 선택</label>
</div>
</div>
</div>
<div id="inputPlusId" class="inputPlus" onclick="picturePlus();">
<span class="circle">+</span>사진 추가
</div>
</td>
</tr>
</table>
</div>PHP 코드가 잠깐 섞여 있는데 이건 제가 만들다가 공유하면 좋을 것 같아 나머지 코드는 지우고 $i = 0;만
남겨놓은겁니다.
위 코드에서 중요한건 picturePlus 함수입니다.
function picturePlus() {
        let cnt = document.getElementById("fivePlus");
        var eleCount = cnt.childElementCount+1;
        console.log(eleCount);
        if(eleCount >= 7) {
          document.getElementById("inputPlusId").style.display = "none";
          alert("이미지는 6장까지 됩니다.");
          return;
        } else {
          let htmlStorage = `
          <div id="profileContent_${eleCount}" style="margin-top:10px;">
            <div id="disNone_${eleCount}" class="imgNoneBox">
              앨범 및 카메라를 이용해 사진을 등록해주세요.
            </div>
            <img id="imgBox_${eleCount}" src="#" onerror="this.style.display='none'" width="100%"/>
            <input type="file" class="imgFile" onchange="readURL(this, this.id, '${eleCount}', 'capture');" name="capture${eleCount}" id="imgUpload_${eleCount}" class="img" accept="image/*" capture="camera" style="display:none;">
            <input type="file" class="imgFile" onchange="readURL(this, this.id, '${eleCount}', 'profile');" name="profile${eleCount}" id="imgCamera_${eleCount}" class="img" accept="image/*" style="display:none;">

            <div class="imgFileContainer">
              <label class="imgAlbum" for="imgUpload_${eleCount}">카메라</label>
              <label class="imgAlbum" for="imgCamera_${eleCount}">앨범에서 선택</label>
            </div>
          </div>`;
          cnt.innerHTML += htmlStorage;
        }
      }
좀 고전적인 방법이라고 생각하실 수 있는데.. 함수에서 엘리먼트를 생성 후
cnt.innerHTML을 통해 뒤에 붙여주는 코드 입니다.
사진을 올린다면 엘리먼트에 사진을 미리보여주는 함수 입니다.
function readURL(input, id, cnt, type) {
        if (input.files && input.files[0]) {
          var reader = new FileReader();
          reader.onload = function(e) {
            if(document.getElementById(`disNone_${cnt}`)){
              document.getElementById(`disNone_${cnt}`).style.display = "none";
            }
            document.getElementById(`imgBox_${cnt}`).src = e.target.result;
            document.getElementById(`imgBox_${cnt}`).style.display = "block";
          };
          reader.readAsDataURL(input.files[0]);
          globalFiles[`${type}${cnt}`] = input.files[0];
          console.log(globalFiles);
        } else {
          document.getElementById(`imgBox_${cnt}`).src = "";
          globalFiles[`${type}${cnt}`] = undefined;
        }
      }
좋.. 좋게 사용해주시면 가...감사합니다..!?